jupyter notebook win11自启动并可远程访问
把下面的代码存储为 bat 结尾的批处理脚本。
1. 编写启动脚本
把下面的代码存储为 bat 结尾的批处理脚本。
1 | @echo off |
放到存放 python 项目的位置,在这里启动服务,默认进的就是这个目录。
然后给右键,给 bat 脚本创建一个快捷方式。

2. 设置脚本开机自启动
按win+ R,键入shell:startup,然后选择“确定”。这将打开“启动”文件夹。下图是我的文件目录

将刚刚创建的快捷方式剪切进打开的文件夹中。之后右键window图标 –> 设置 –> 应用 –>启动 可以看到要设置为自启动的应用程序
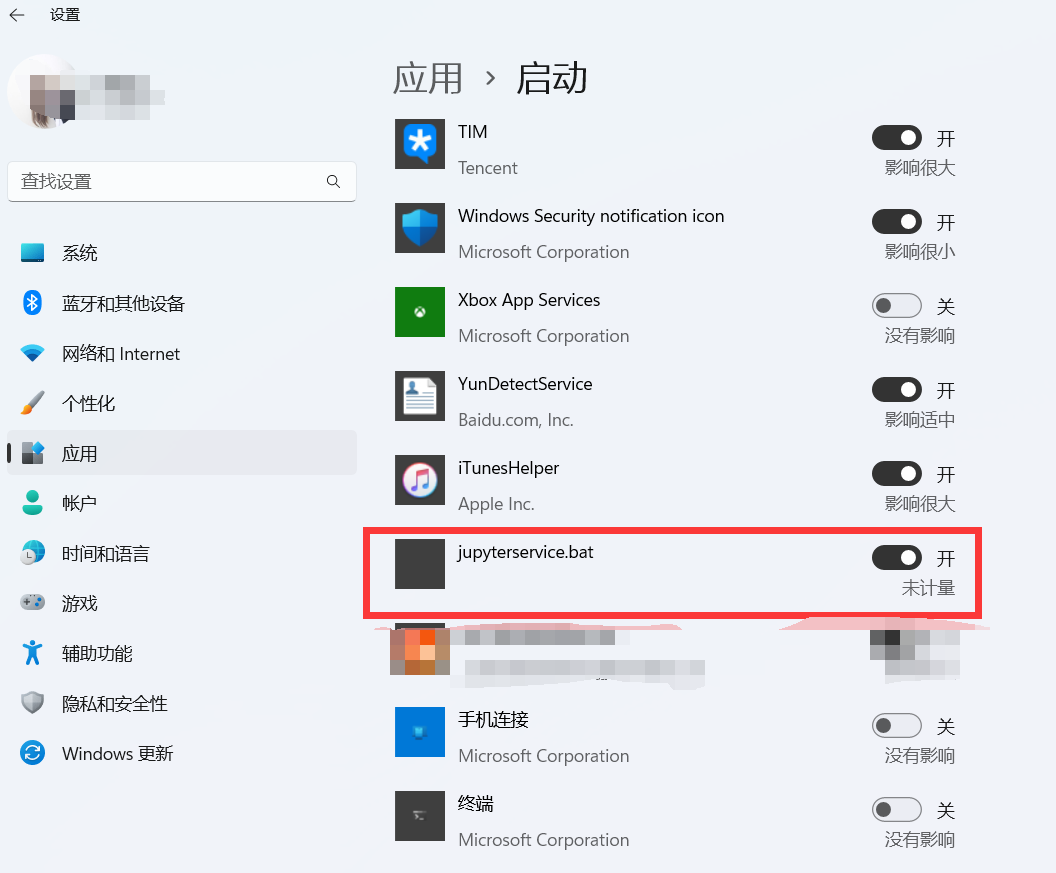
至此,开机便可以自启动 jupyter notebook
3. 设置notebook远程访问
3.1 方法1 ssh远程使用jupyter notebook
在远程服务器上,启动jupyter notebooks服务:
jupyter notebook --no-browser --port=8889
在本地终端中启动SSH:
ssh -N -f -L localhost:8888:localhost:8889 username@serverIP
其中: -N 告诉SSH没有命令要被远程执行; -f 告诉SSH在后台执行; -L 是指定port forwarding的配置,远端端口是8889,本地的端口号的8888。
注意:username@serverIP替换成服务器的对应账号。
最后打开浏览器,访问:http://localhost:8888/
3.2 方法2 利用jupyter notebook自带的远程访问功能
生成默认配置文件
jupyter notebook --generate-config
生成访问密码(token)
终端输入ipython,设置你自己的jupyter访问密码,注意复制输出的密码串 rgon2:$xxxxxxxxx
1 | In [1]: from notebook.auth import passwd |
资源管理器进入:C:\Users\你的账户名\.jupyter:
编辑jupyter_notebook_config.py,添加:
1 | c.NotebookApp.ip='*' |
保存并启动jupyter notebook
jupyter notebook
最后打开浏览器,访问:http://ip:8888/
4. 公网访问notebook
首先需要确认是拨号上网,并且有公网IP。
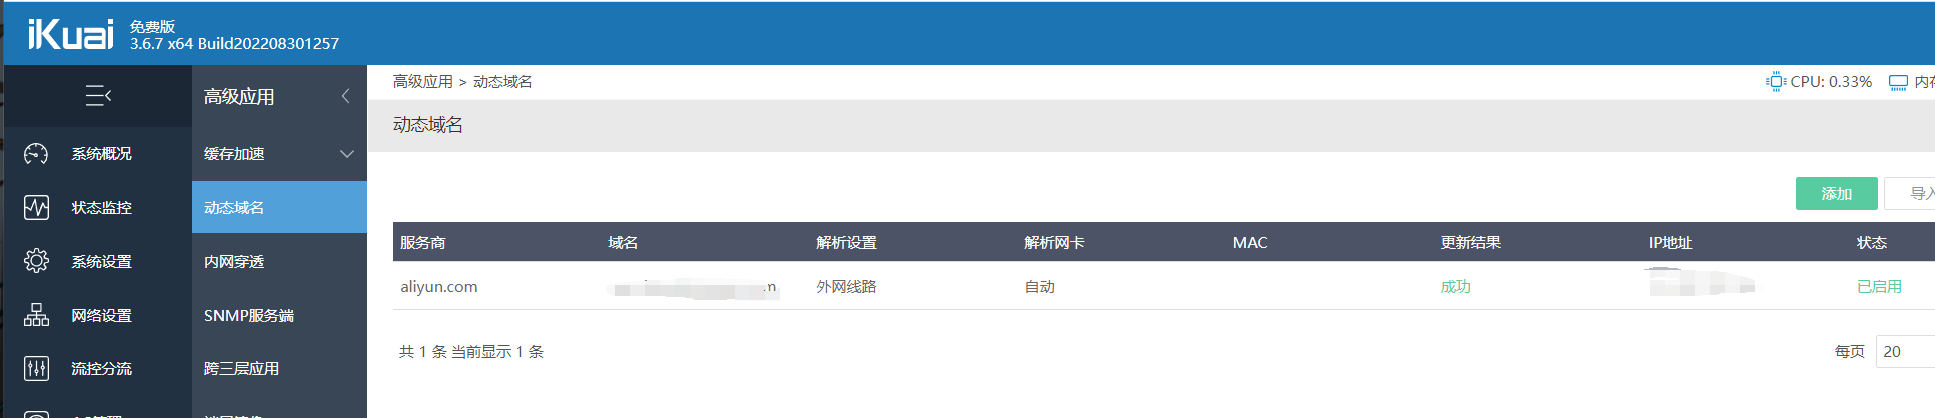
其次需要在软路由上或者其他常开设备如nas上设置ddns。我的主路由是ikuai系统。
最后在路由管理界面设置端口转发。
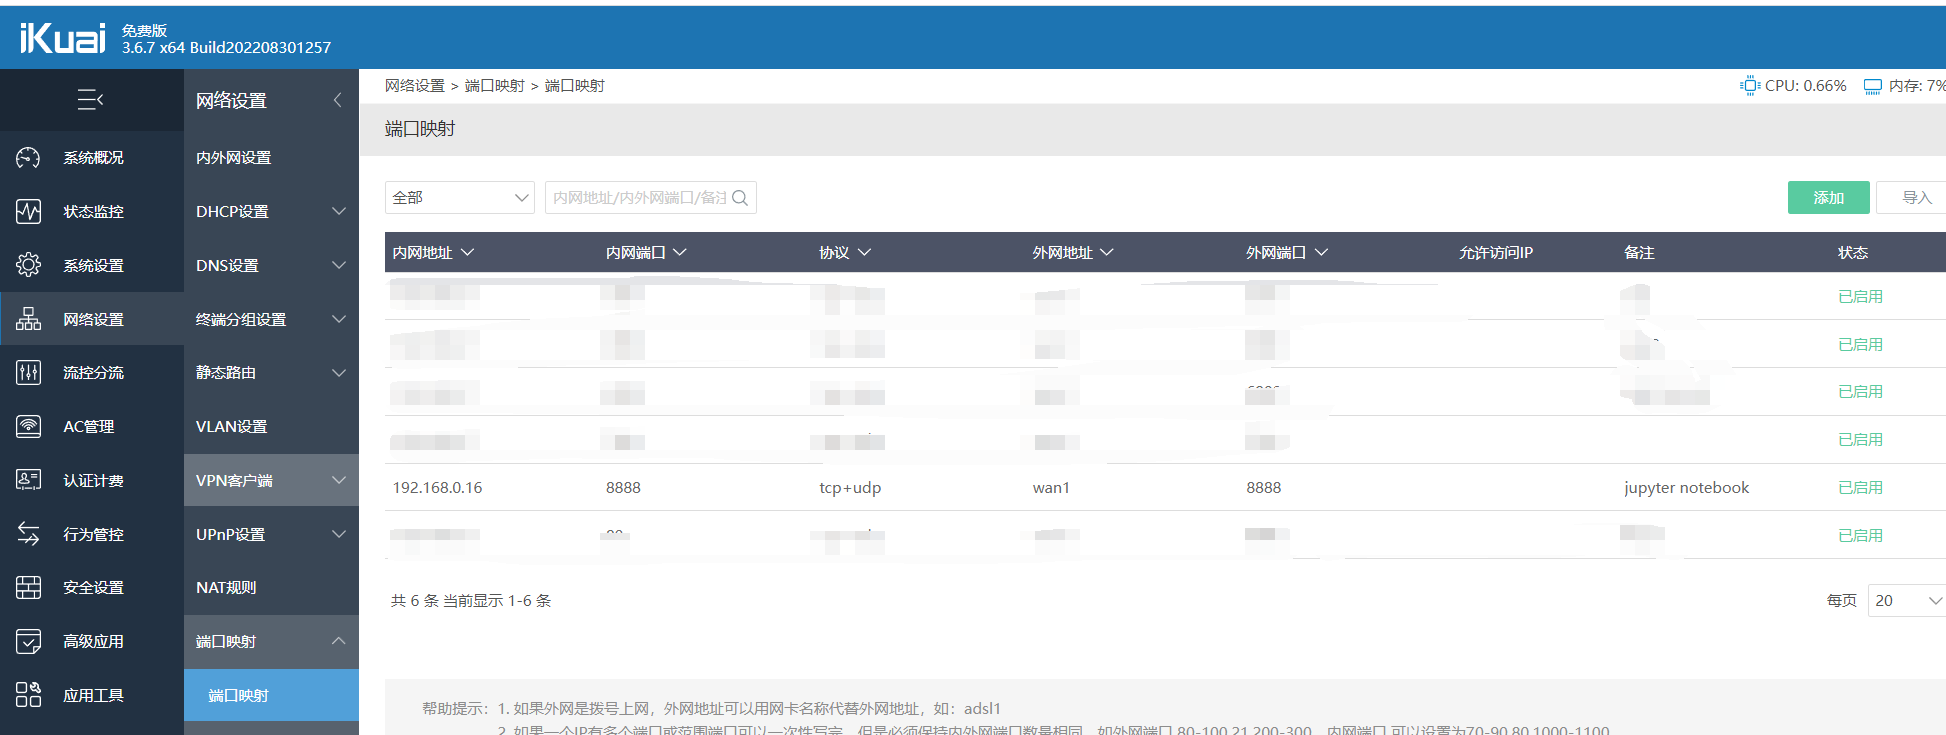
完结。